

How to Winterize a Washer and Dryer for Storage (Garage or Storage Unit)
Step-by-Step: How to Winterize a Washer for Storage
What you’ll need: Towels, Pliers C Clamp/Tonge and Groove, Screwdriver (pending model), flashlight (optional).
1) Unplug the washer
Safety first—unplug the washer before disconnecting hoses or opening any access panels.
2) Shut off the water and disconnect both supply hoses
Turn off hot and cold water valves.
Unscrew both hoses from the wall and washer.
Drain hoses into a bucket and shake out remaining water.
Store hoses separately (water left inside can freeze and split them).
3) Drain the tub (if the washer can still power on)
If you can power it briefly, run Drain & Spin to remove as much water as possible. Then unplug again.
4) Drain the pump (most important step)
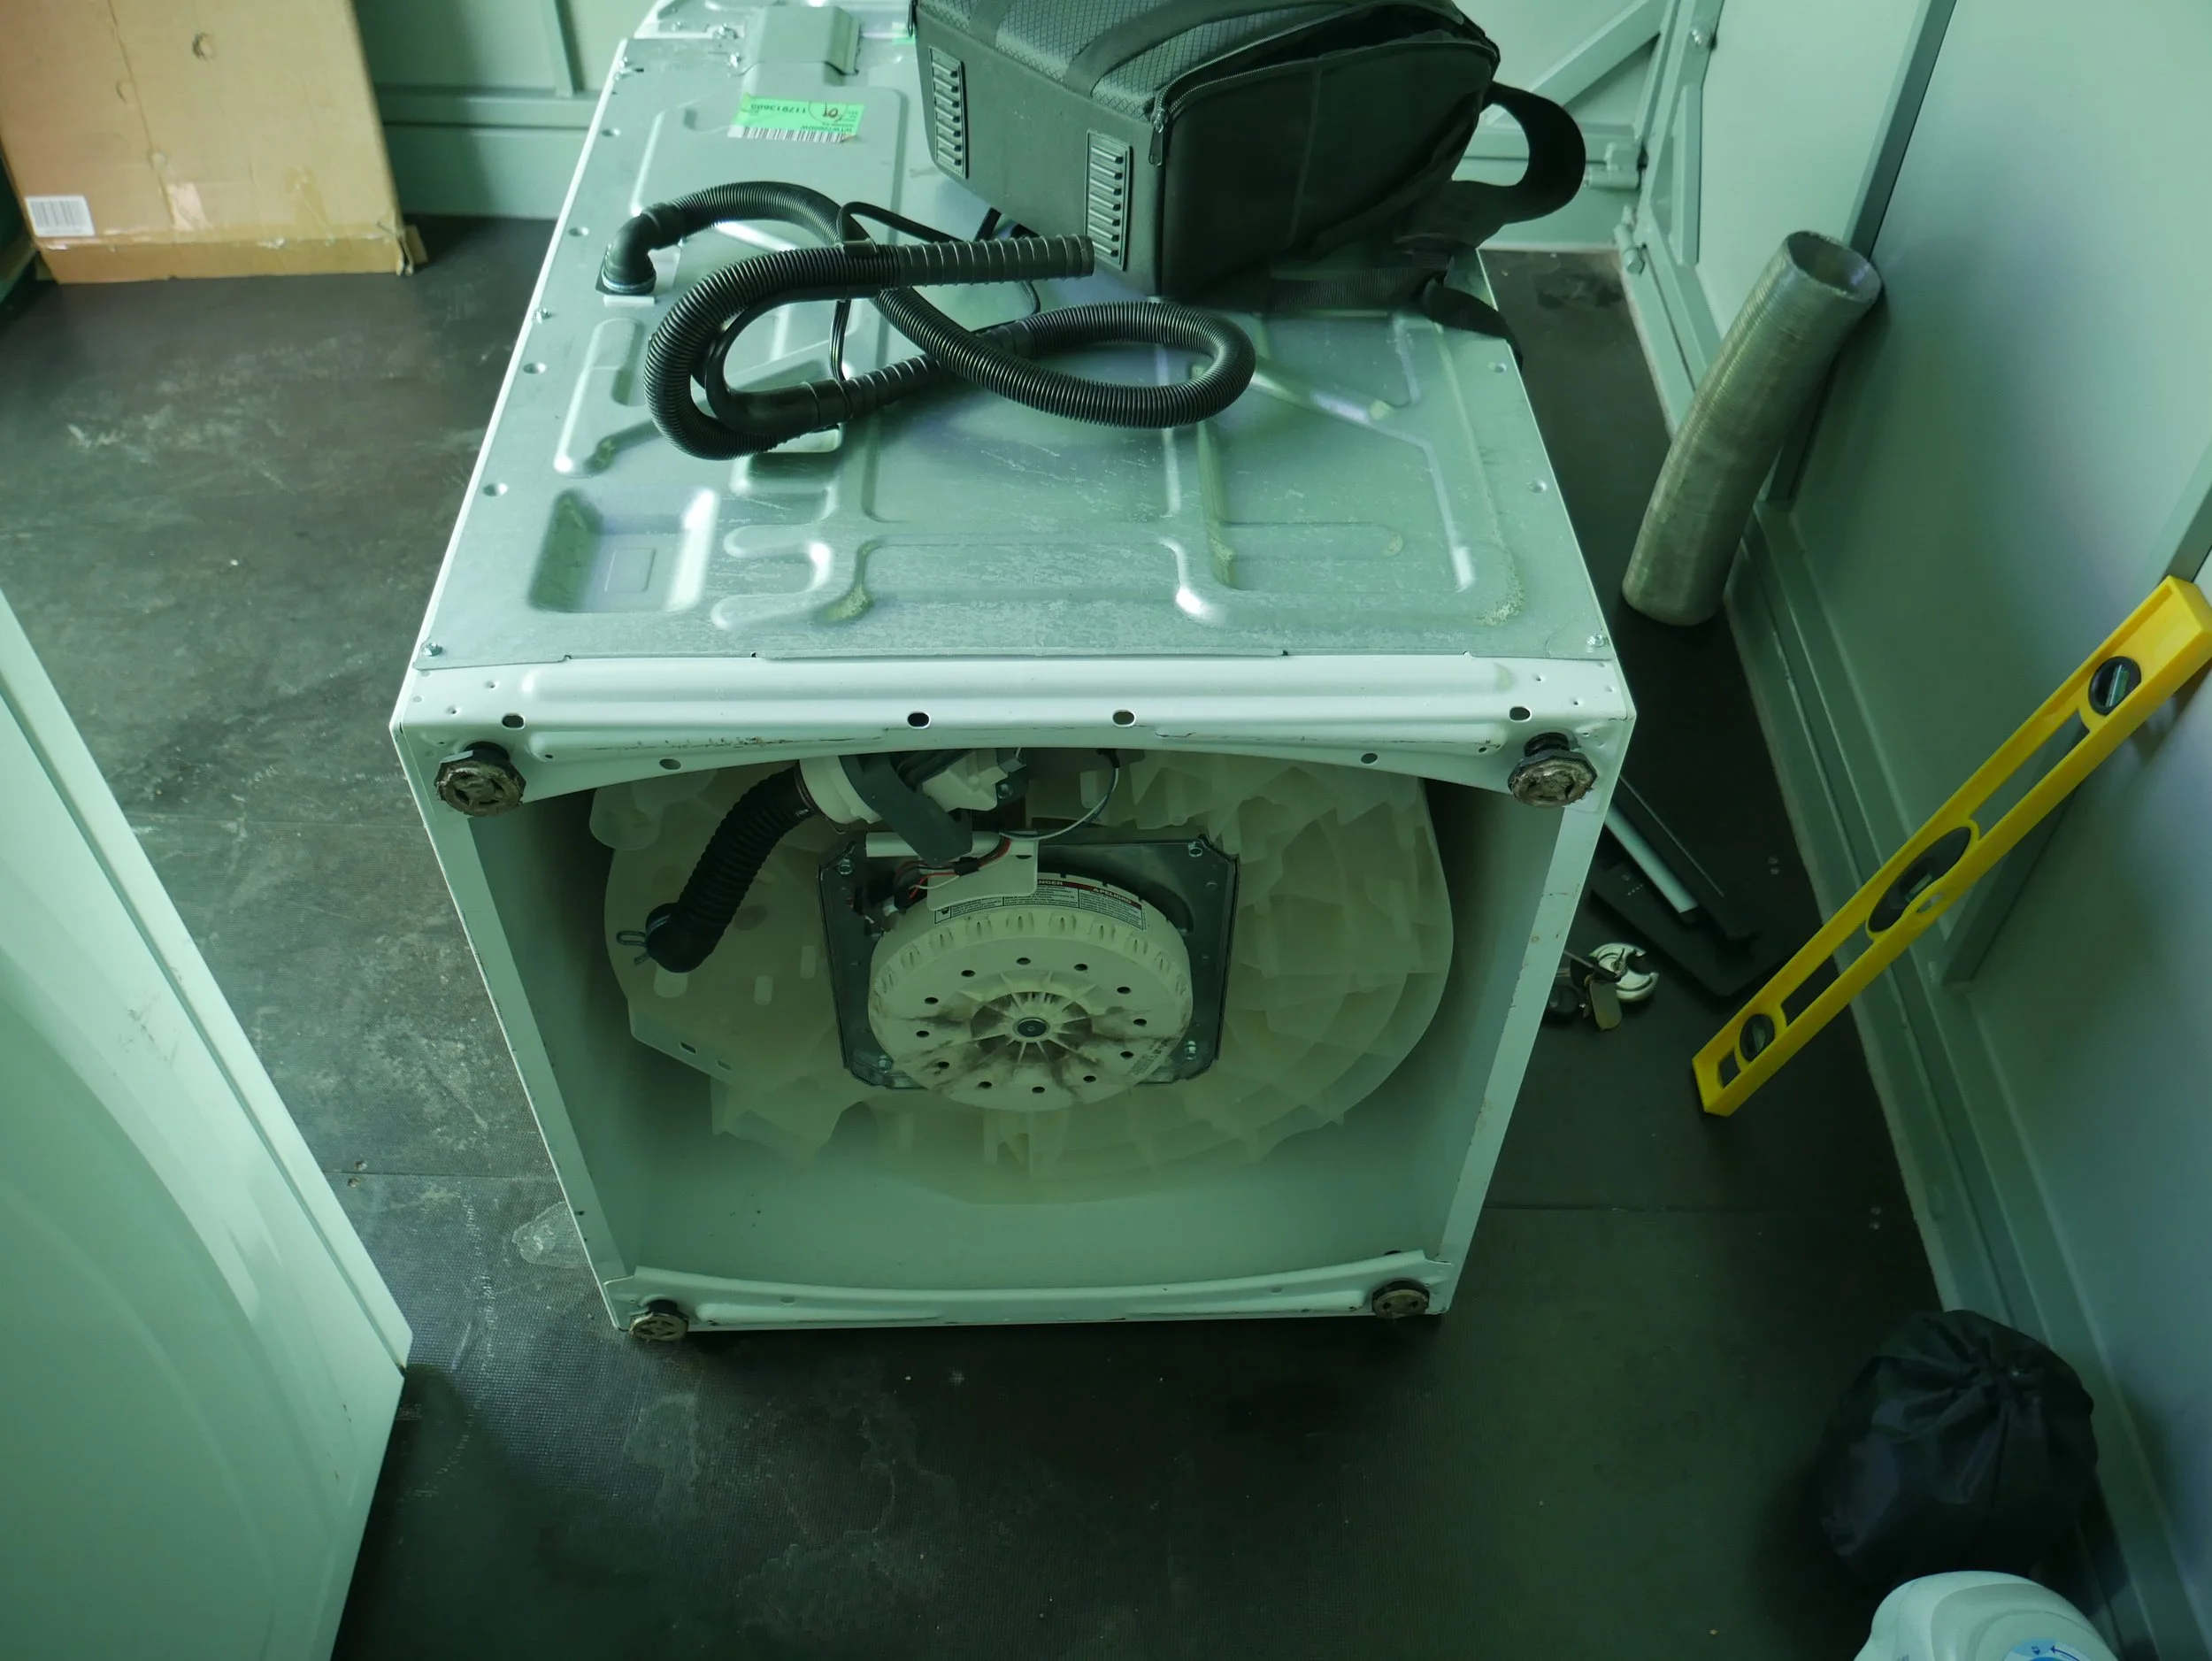
Even after draining, washers often retain water in the pump and drain line.
Remove the lower/front access panel (varies by model/not always required).
Place a shallow pan or towel under the pump area.
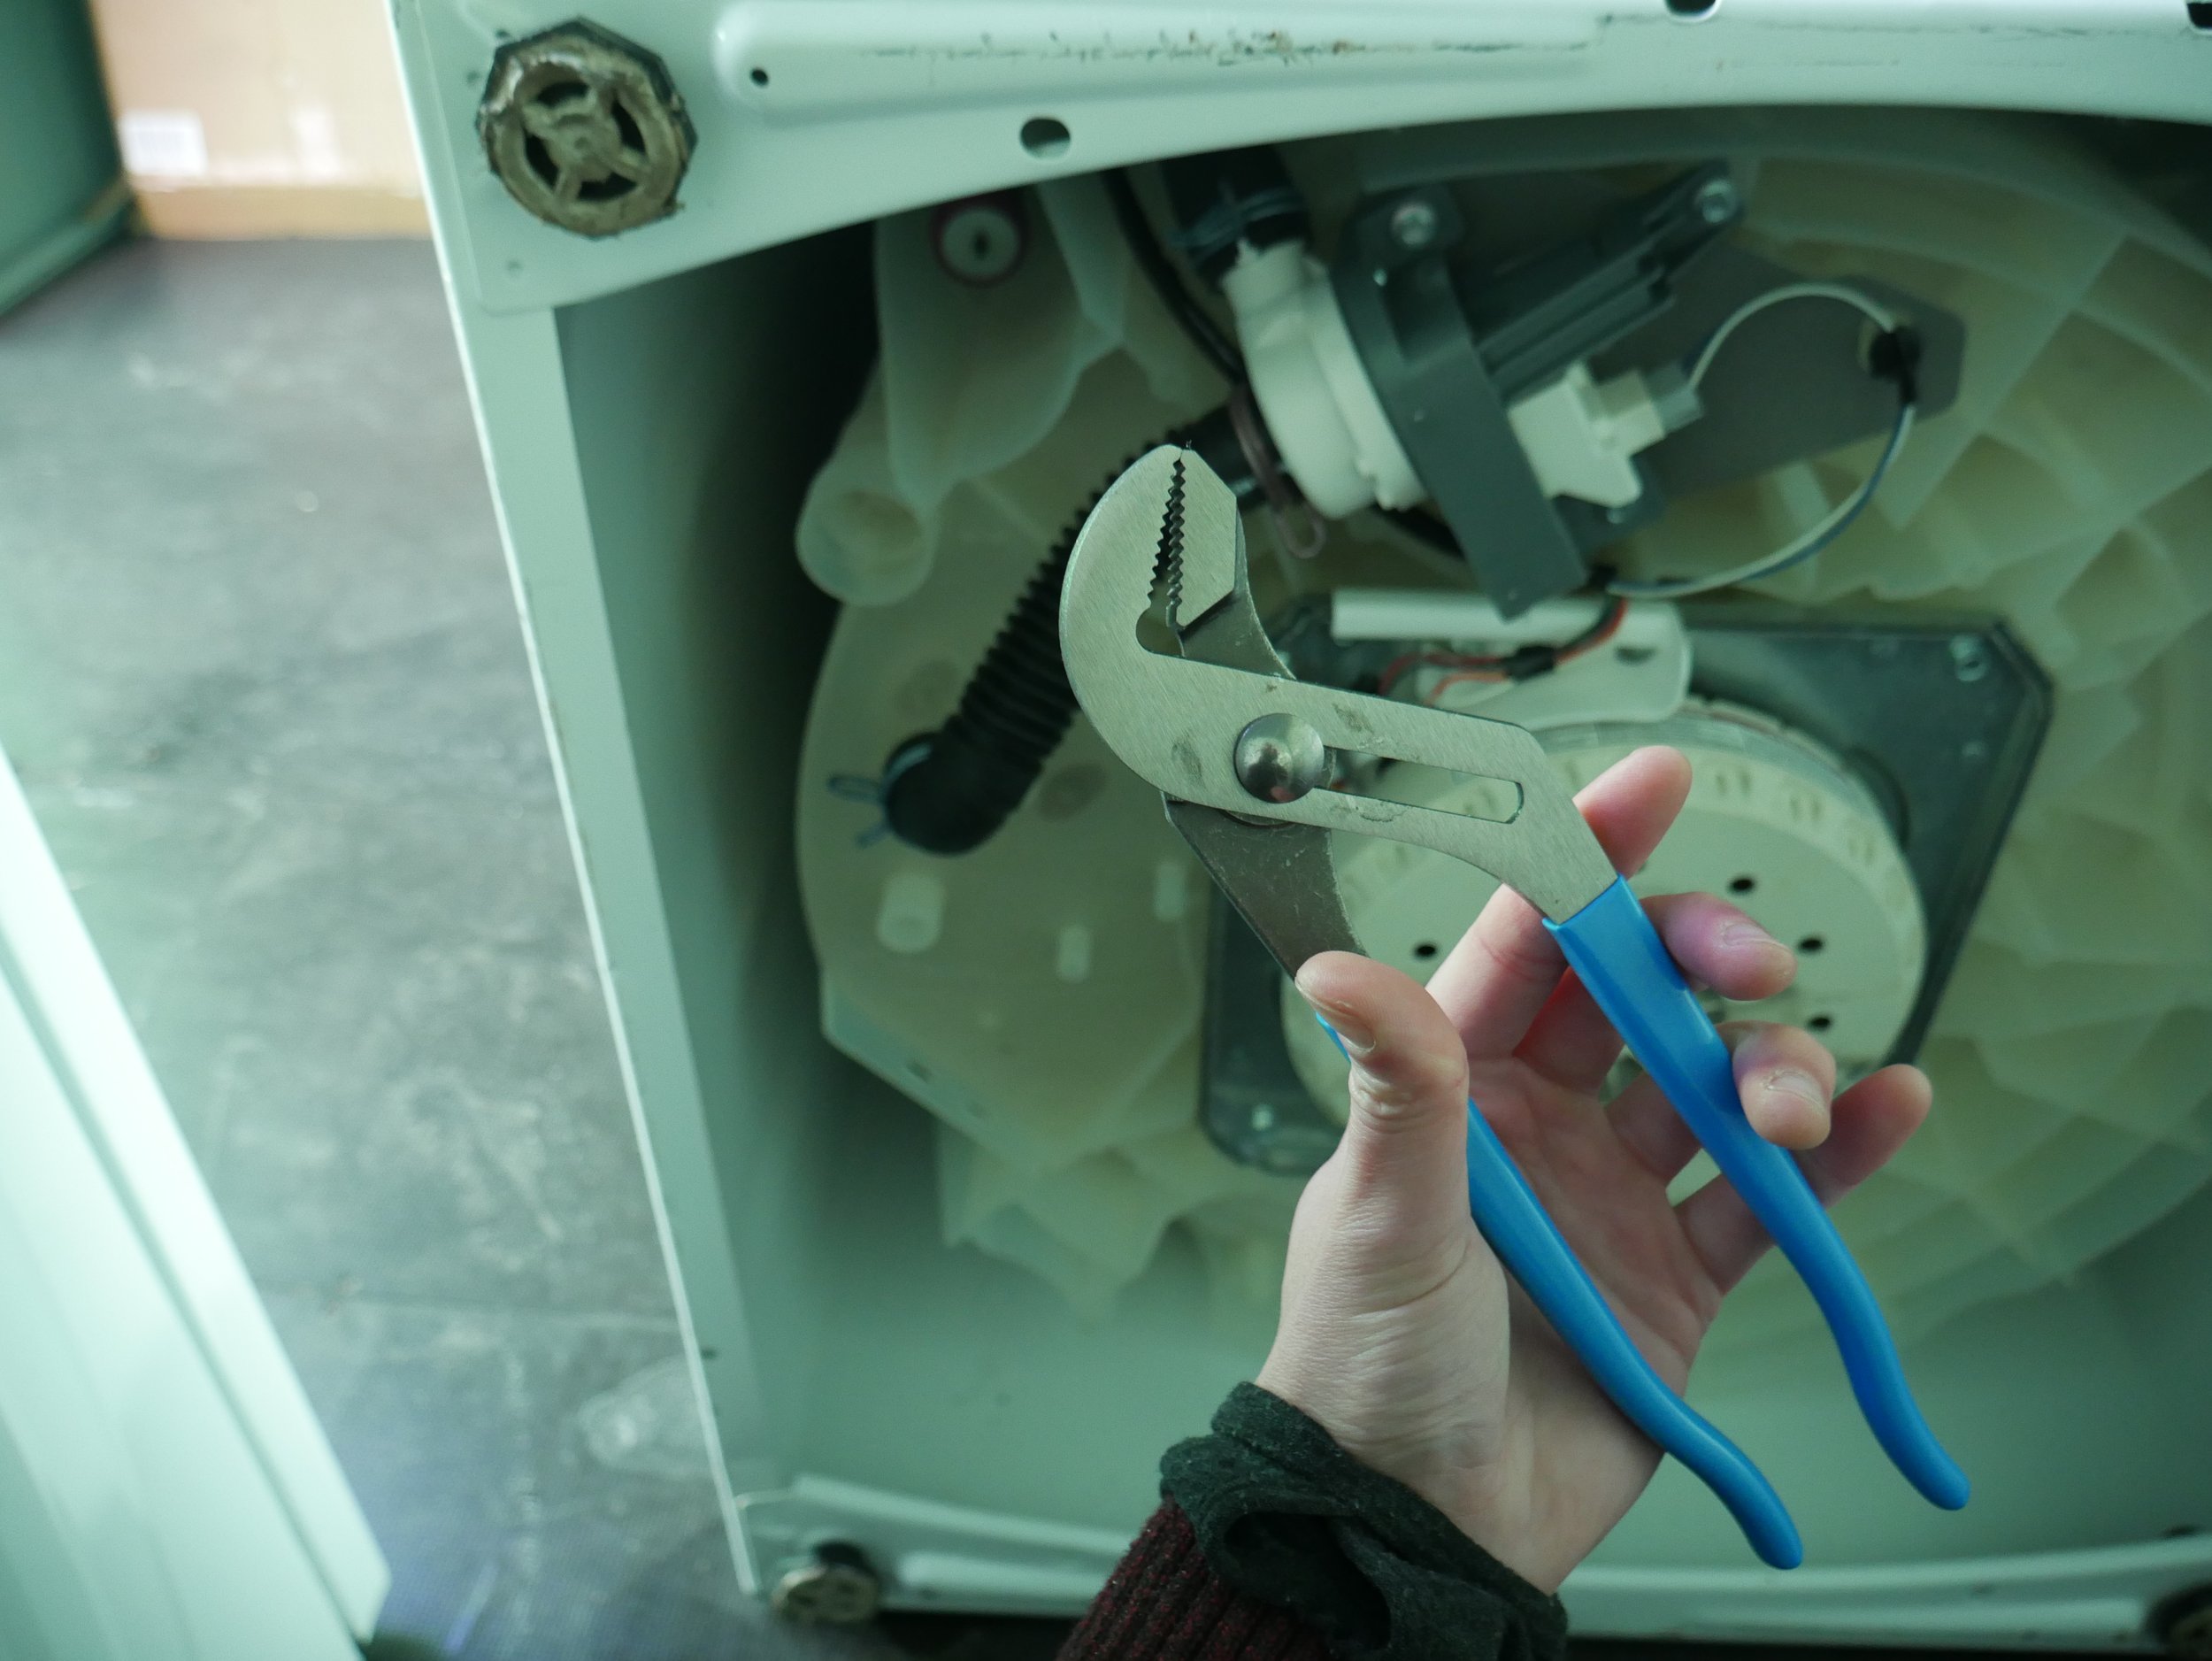
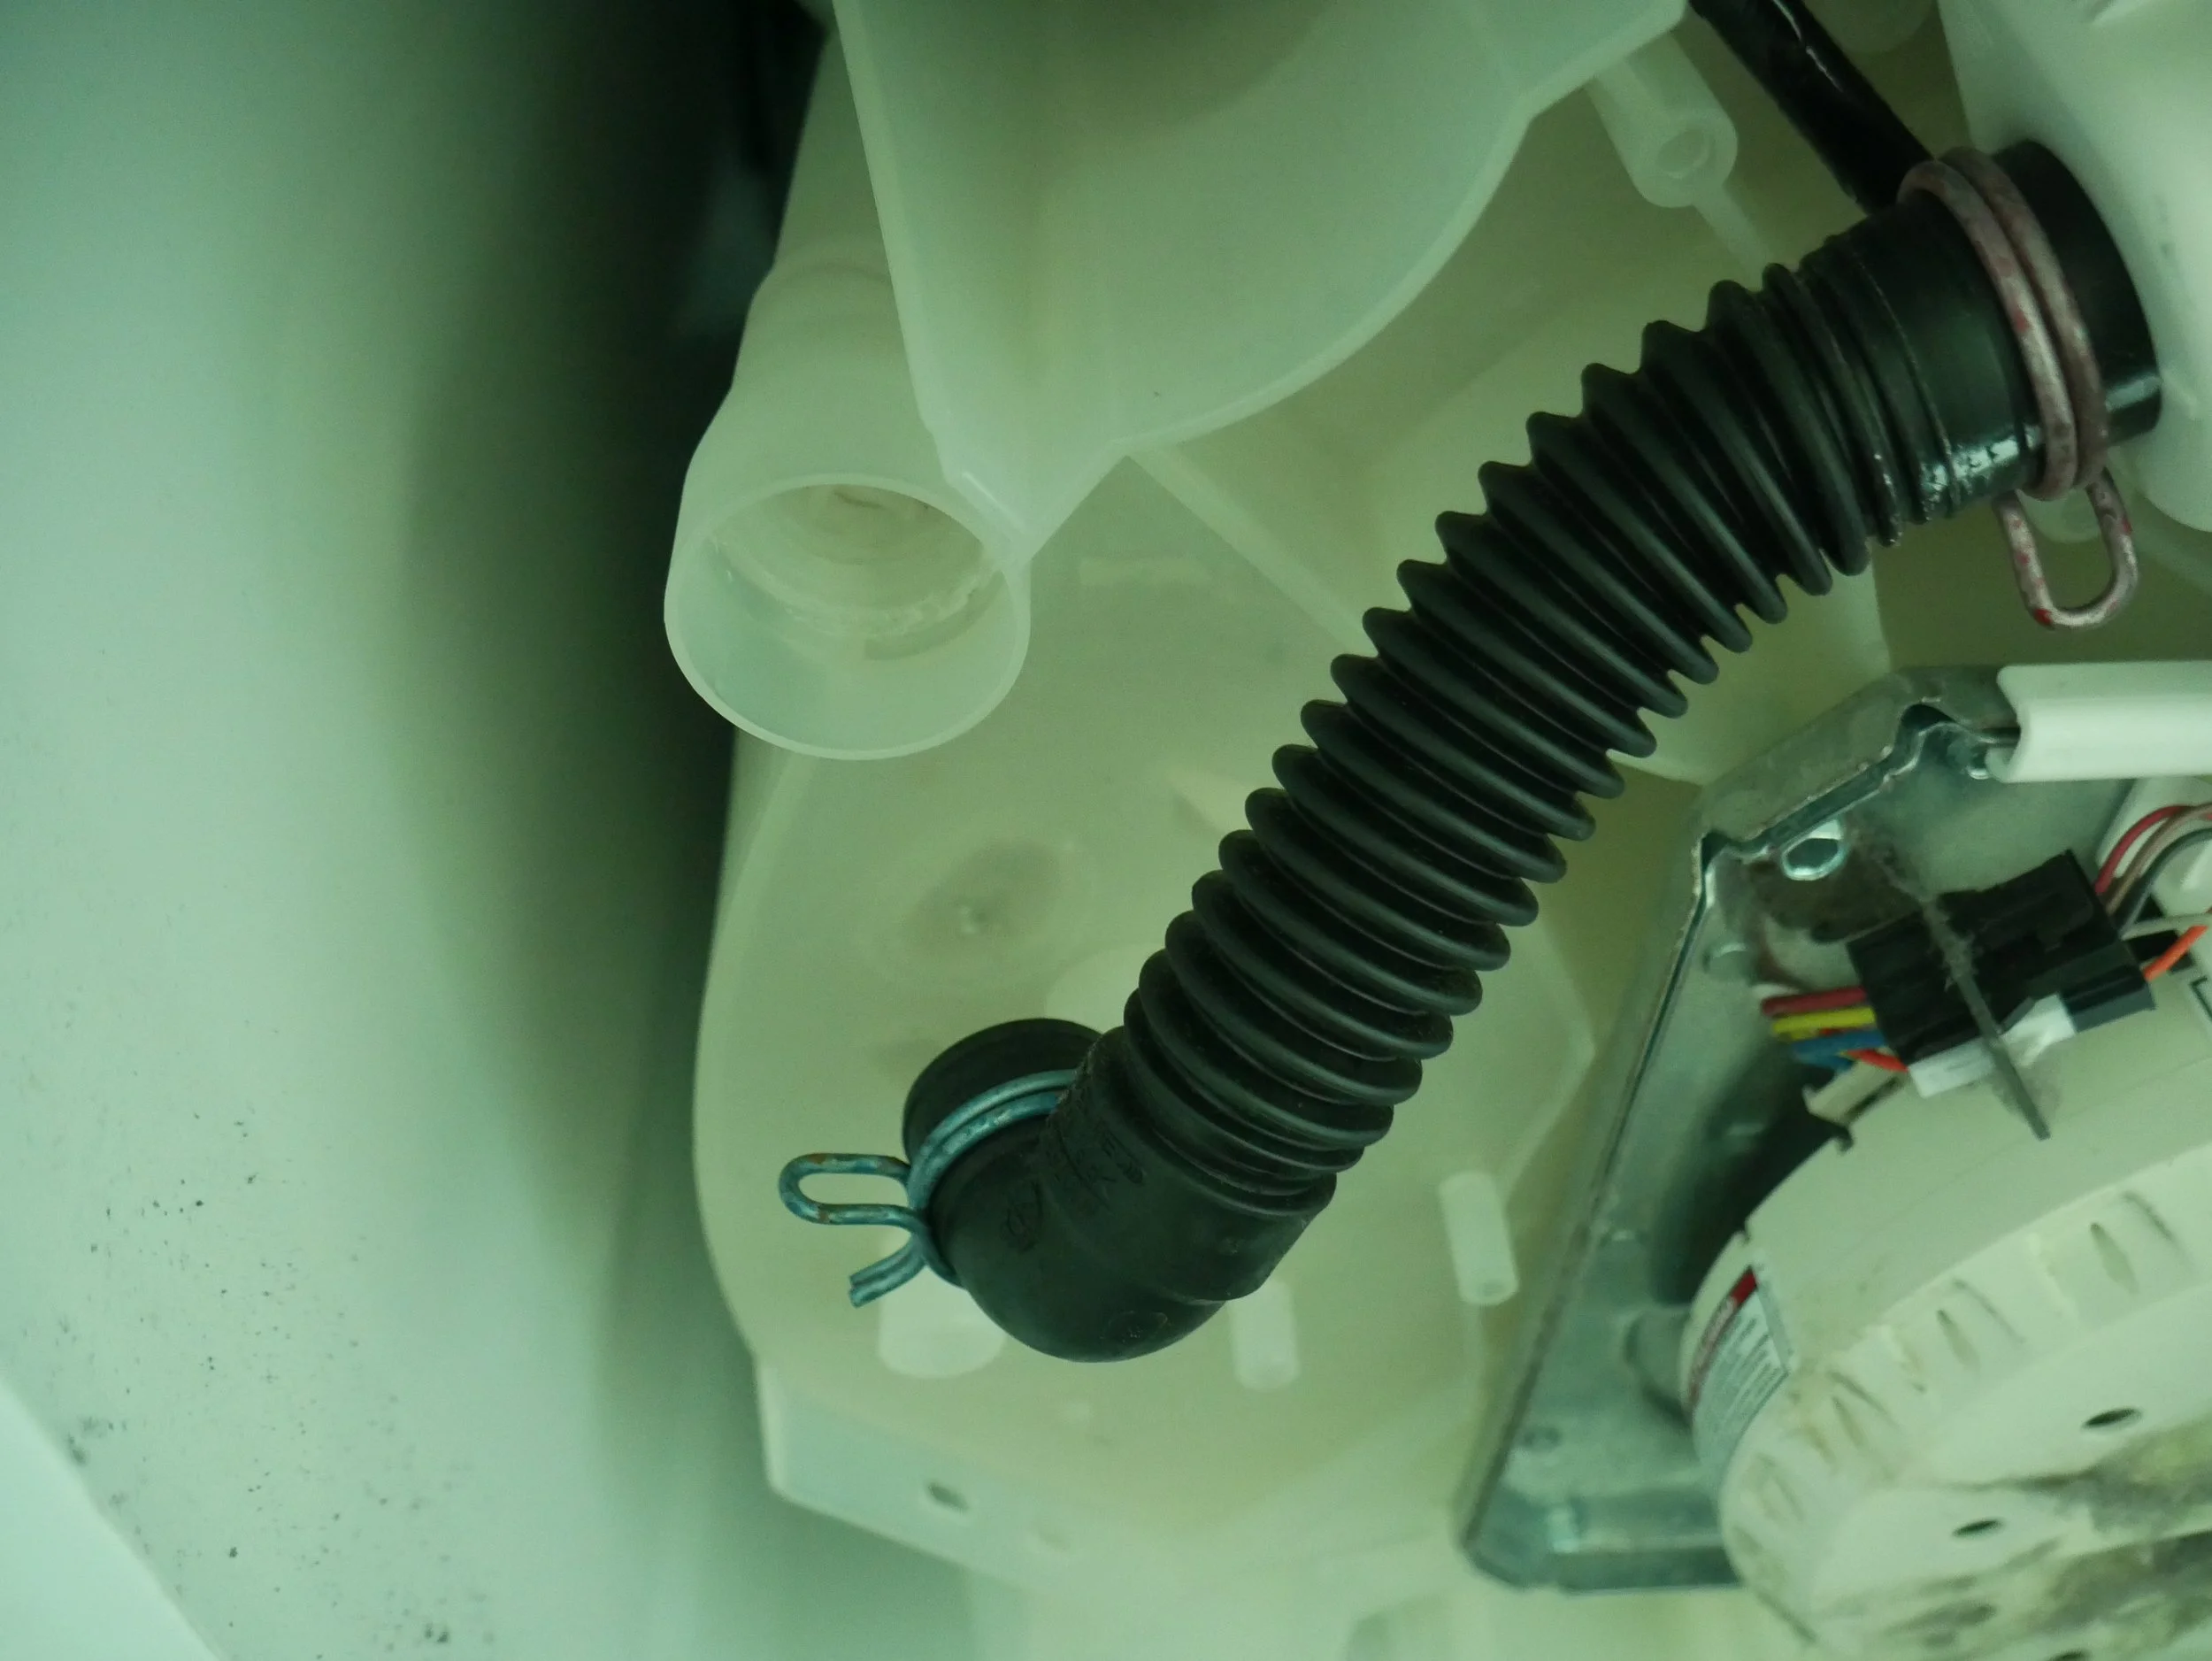
Locate the drain pump hose and clamp.
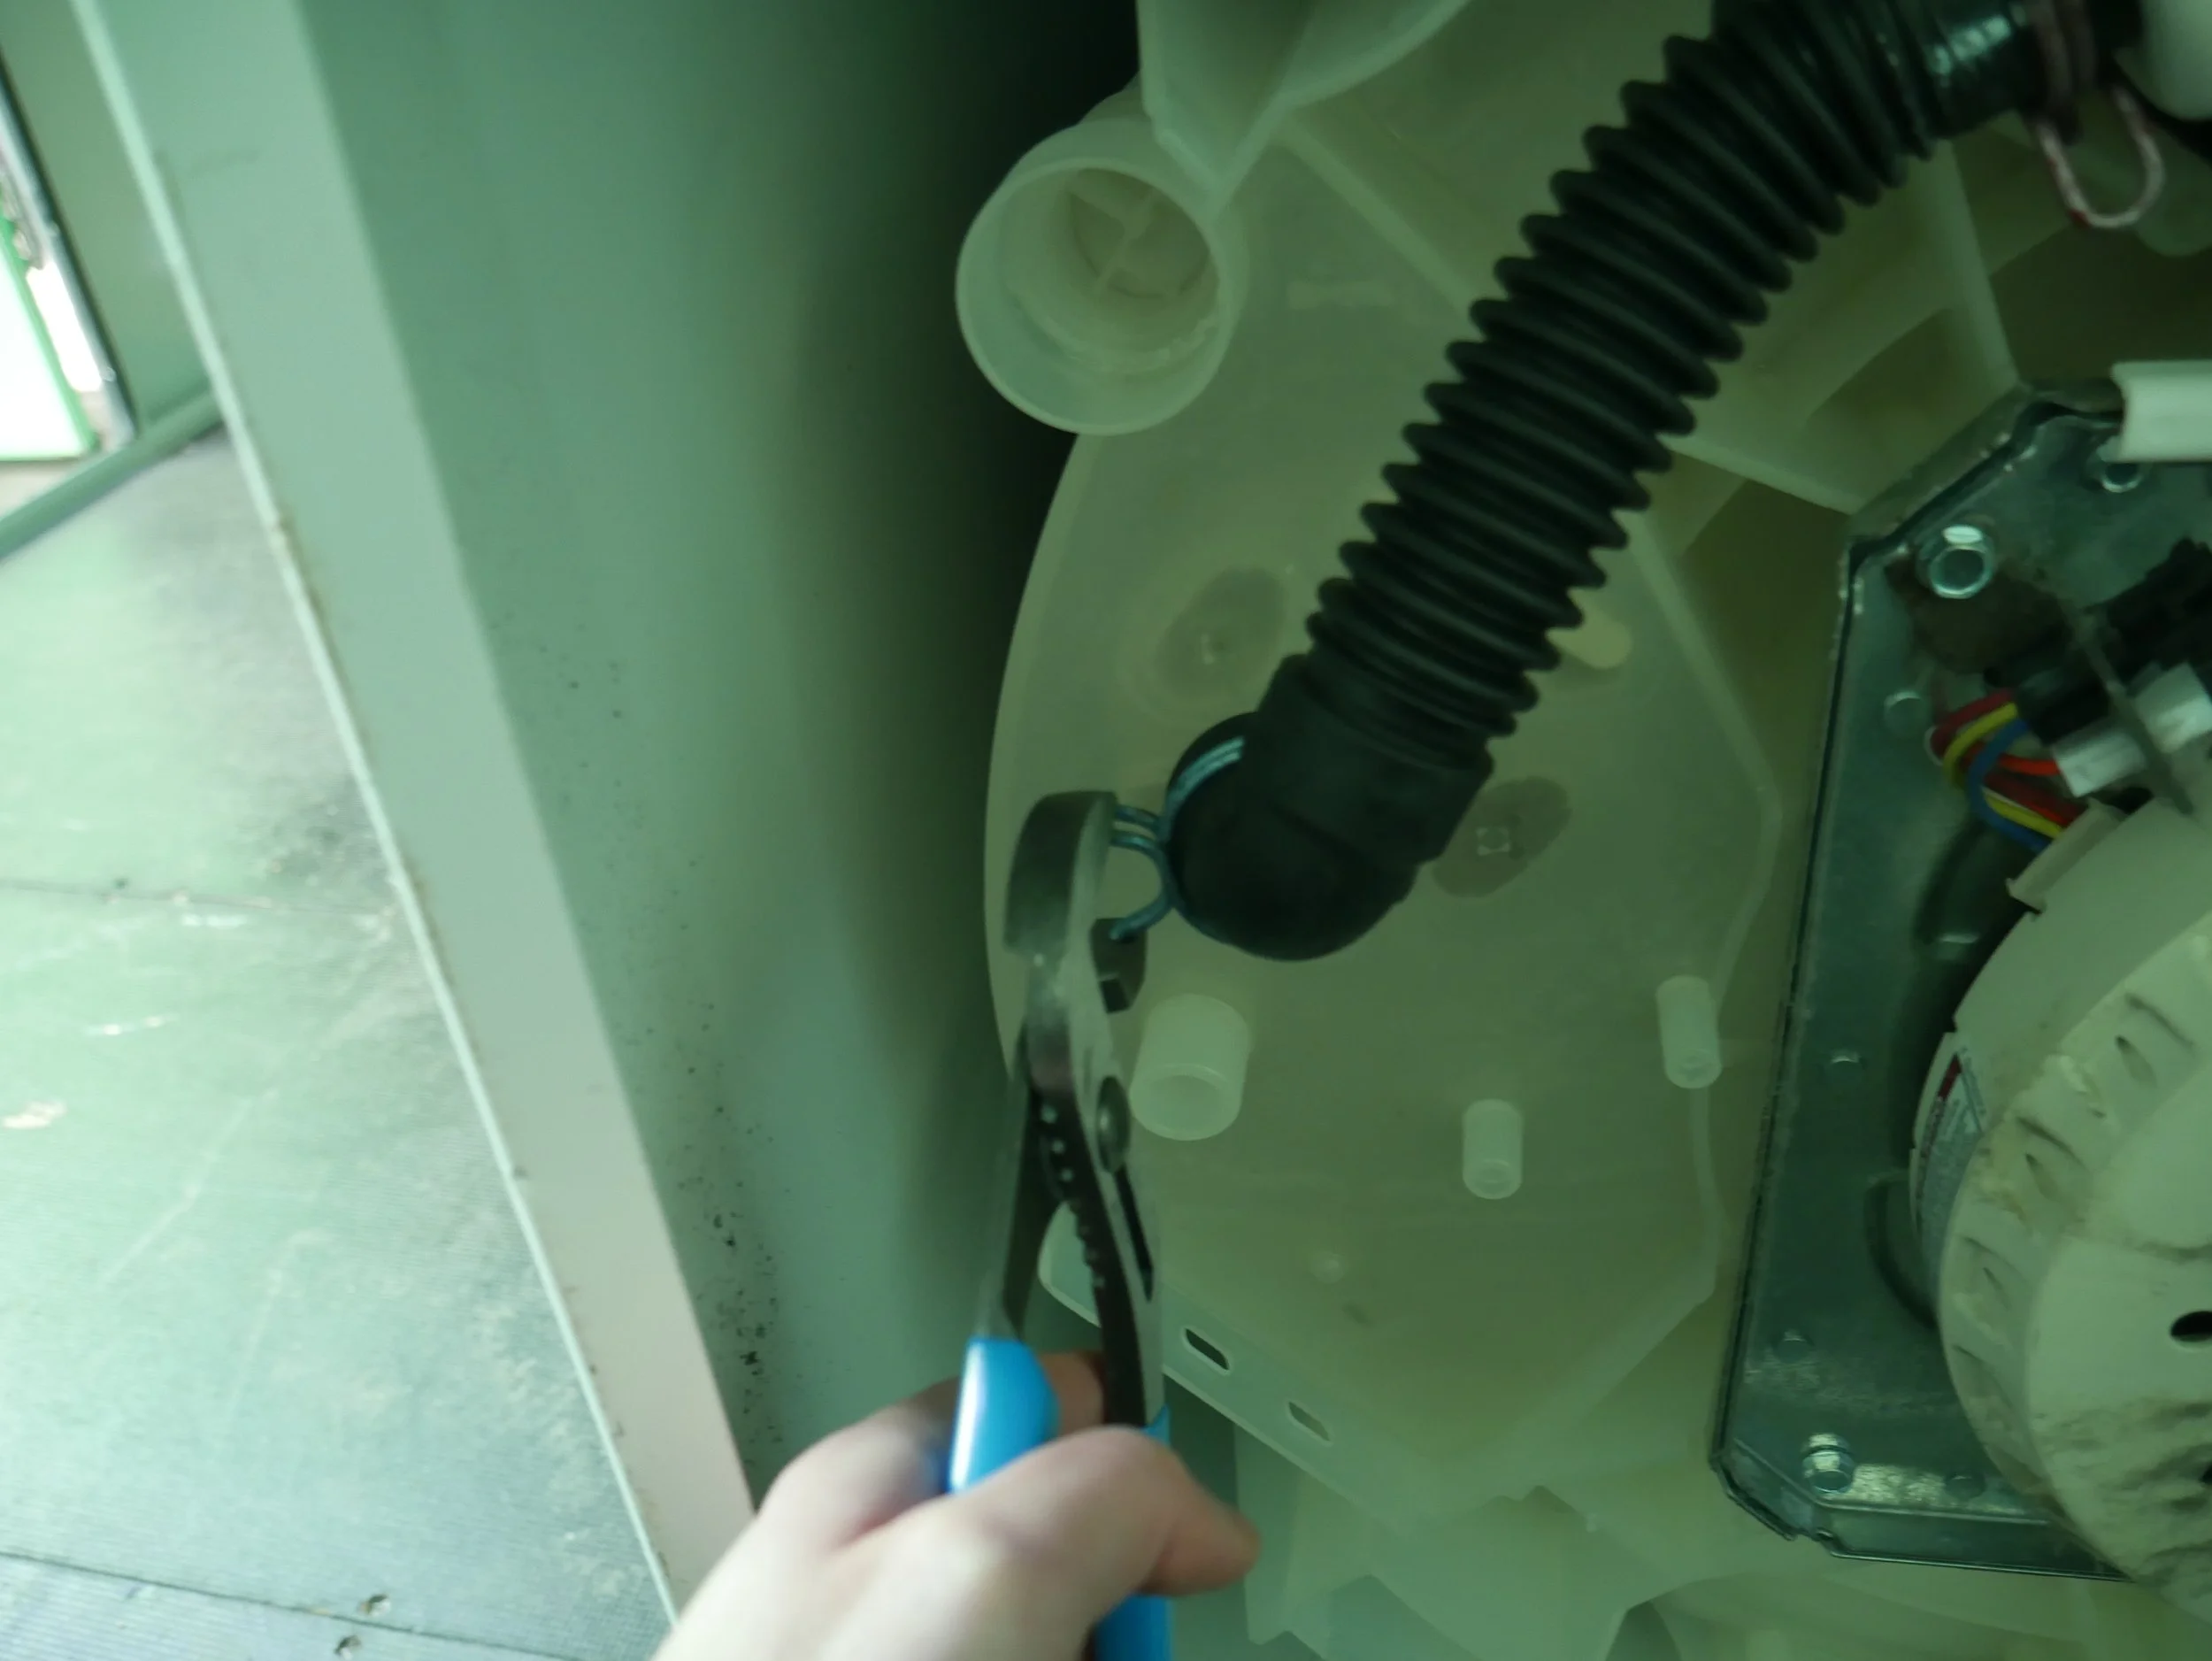
Use pliers to slide the clamp back, then carefully loosen the hose to let trapped water drain.
Reattach the hose securely and return the clamp to its original position.
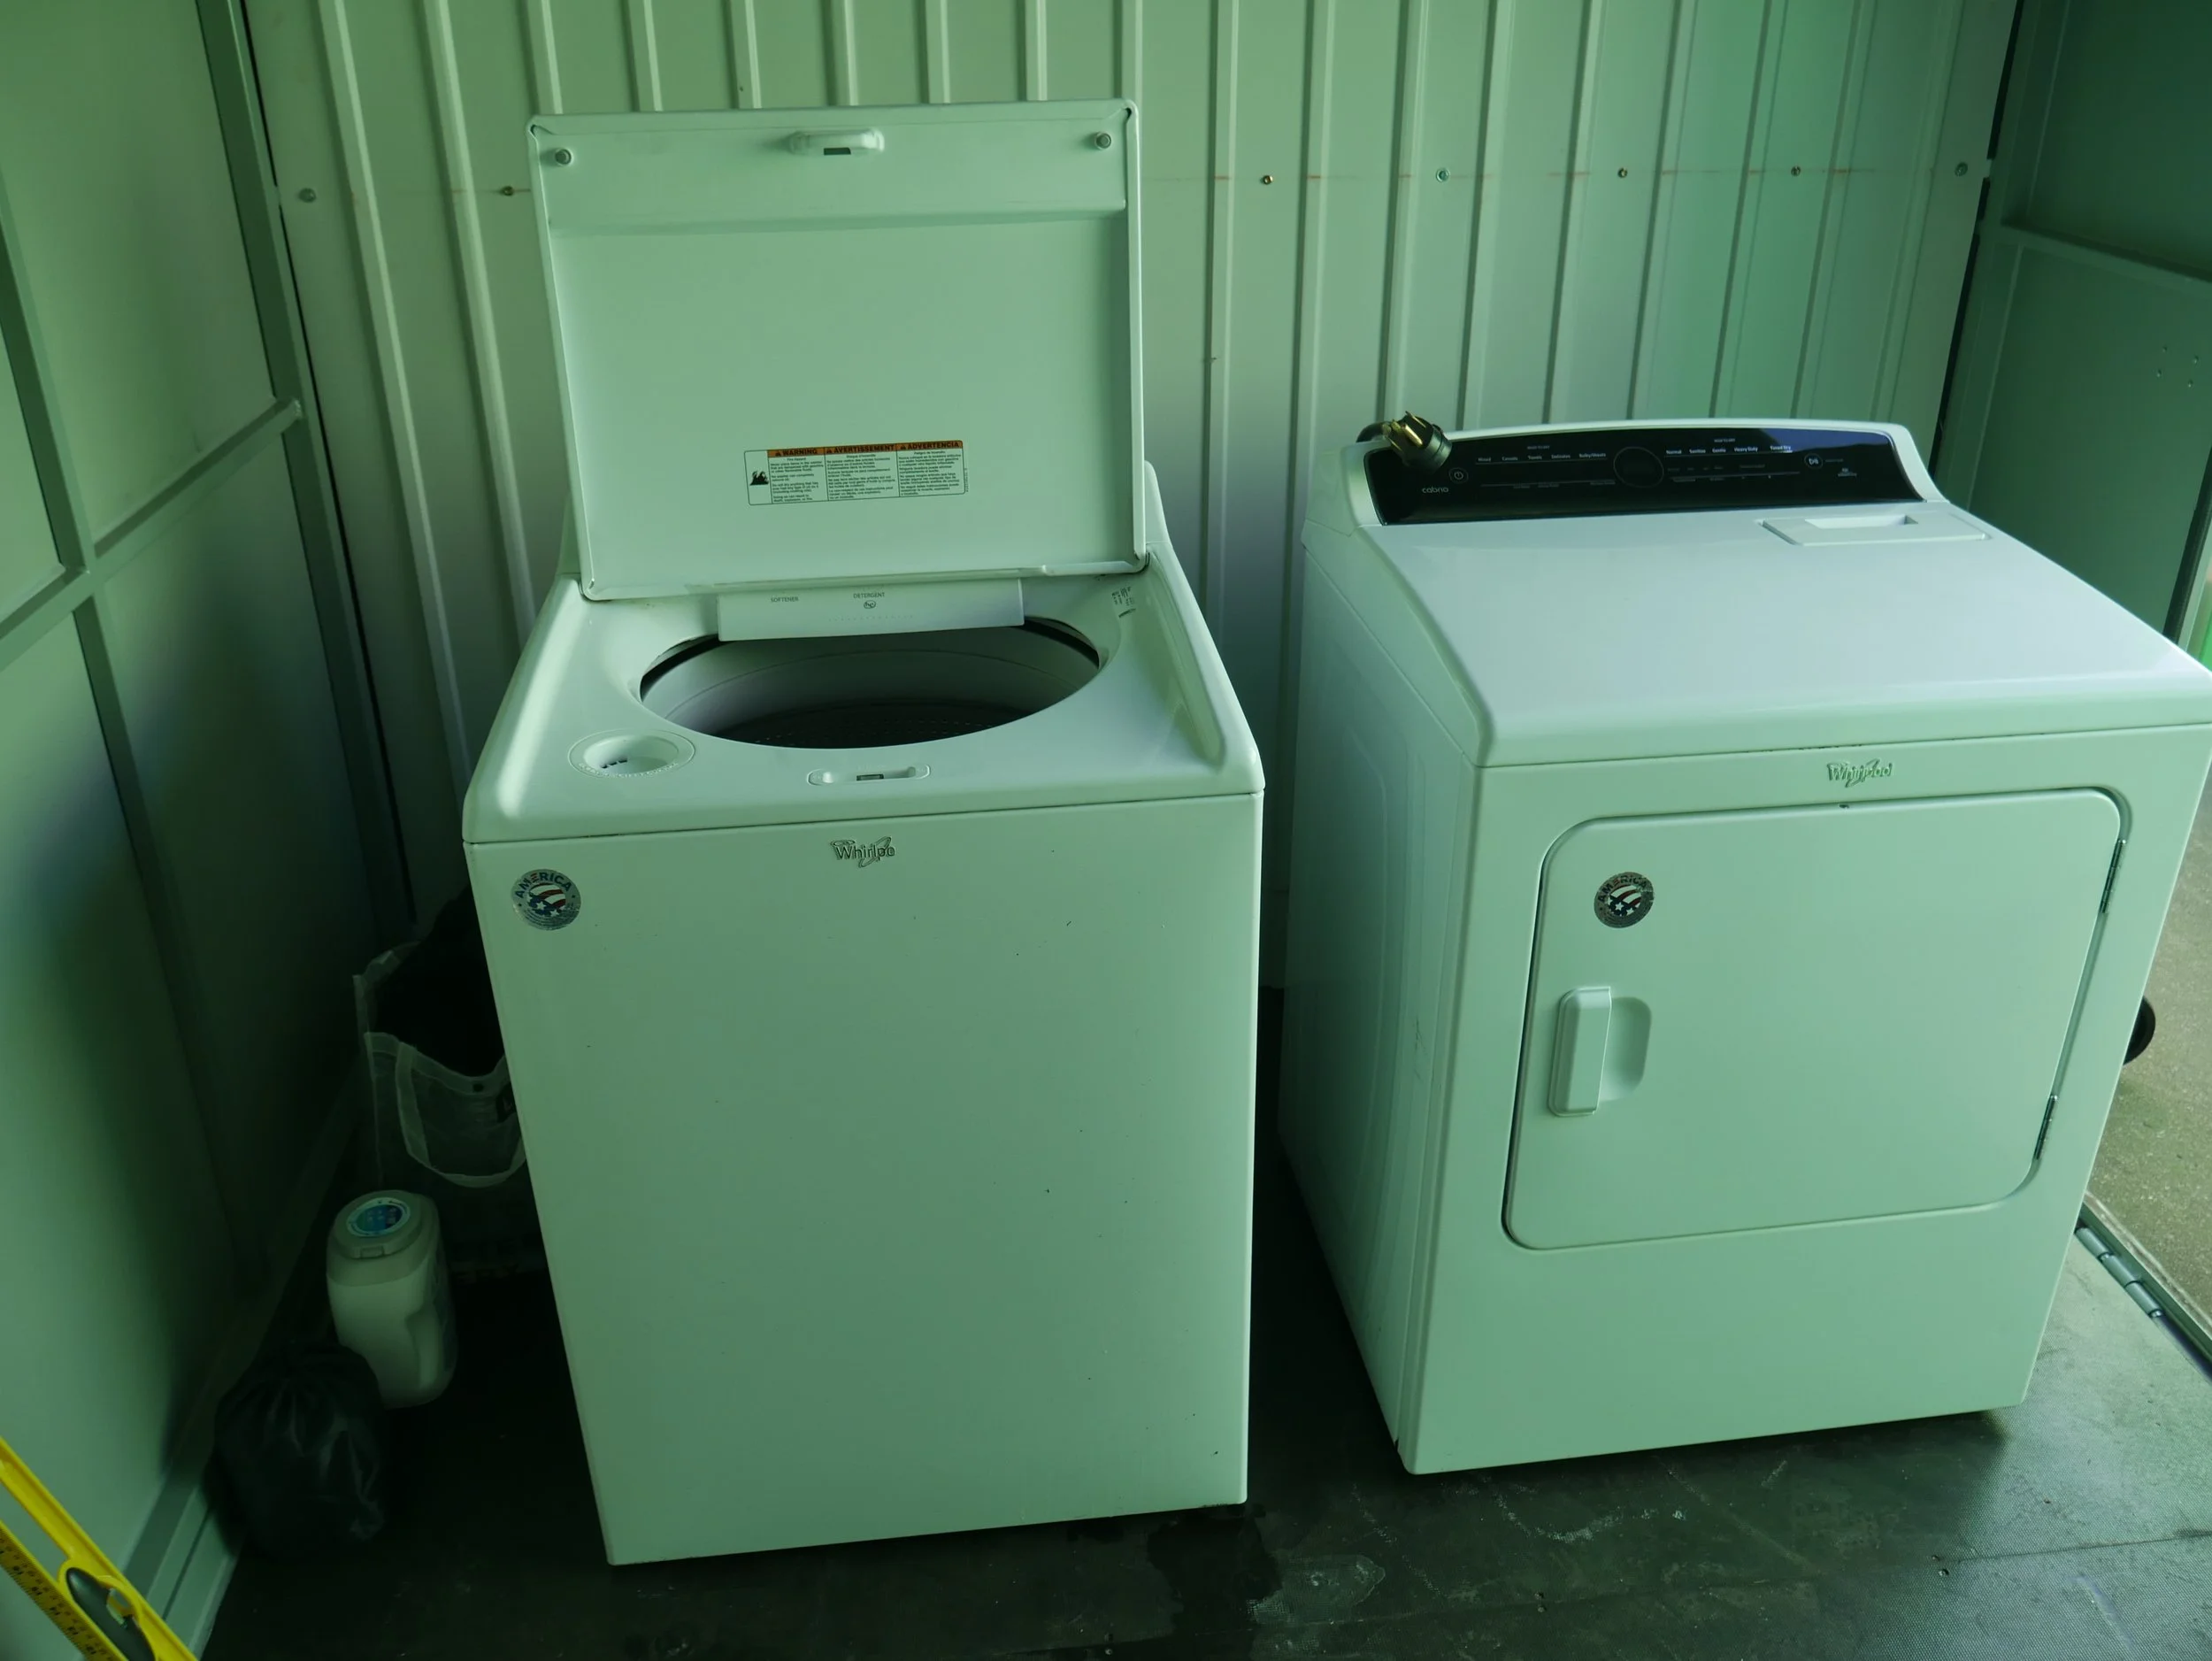
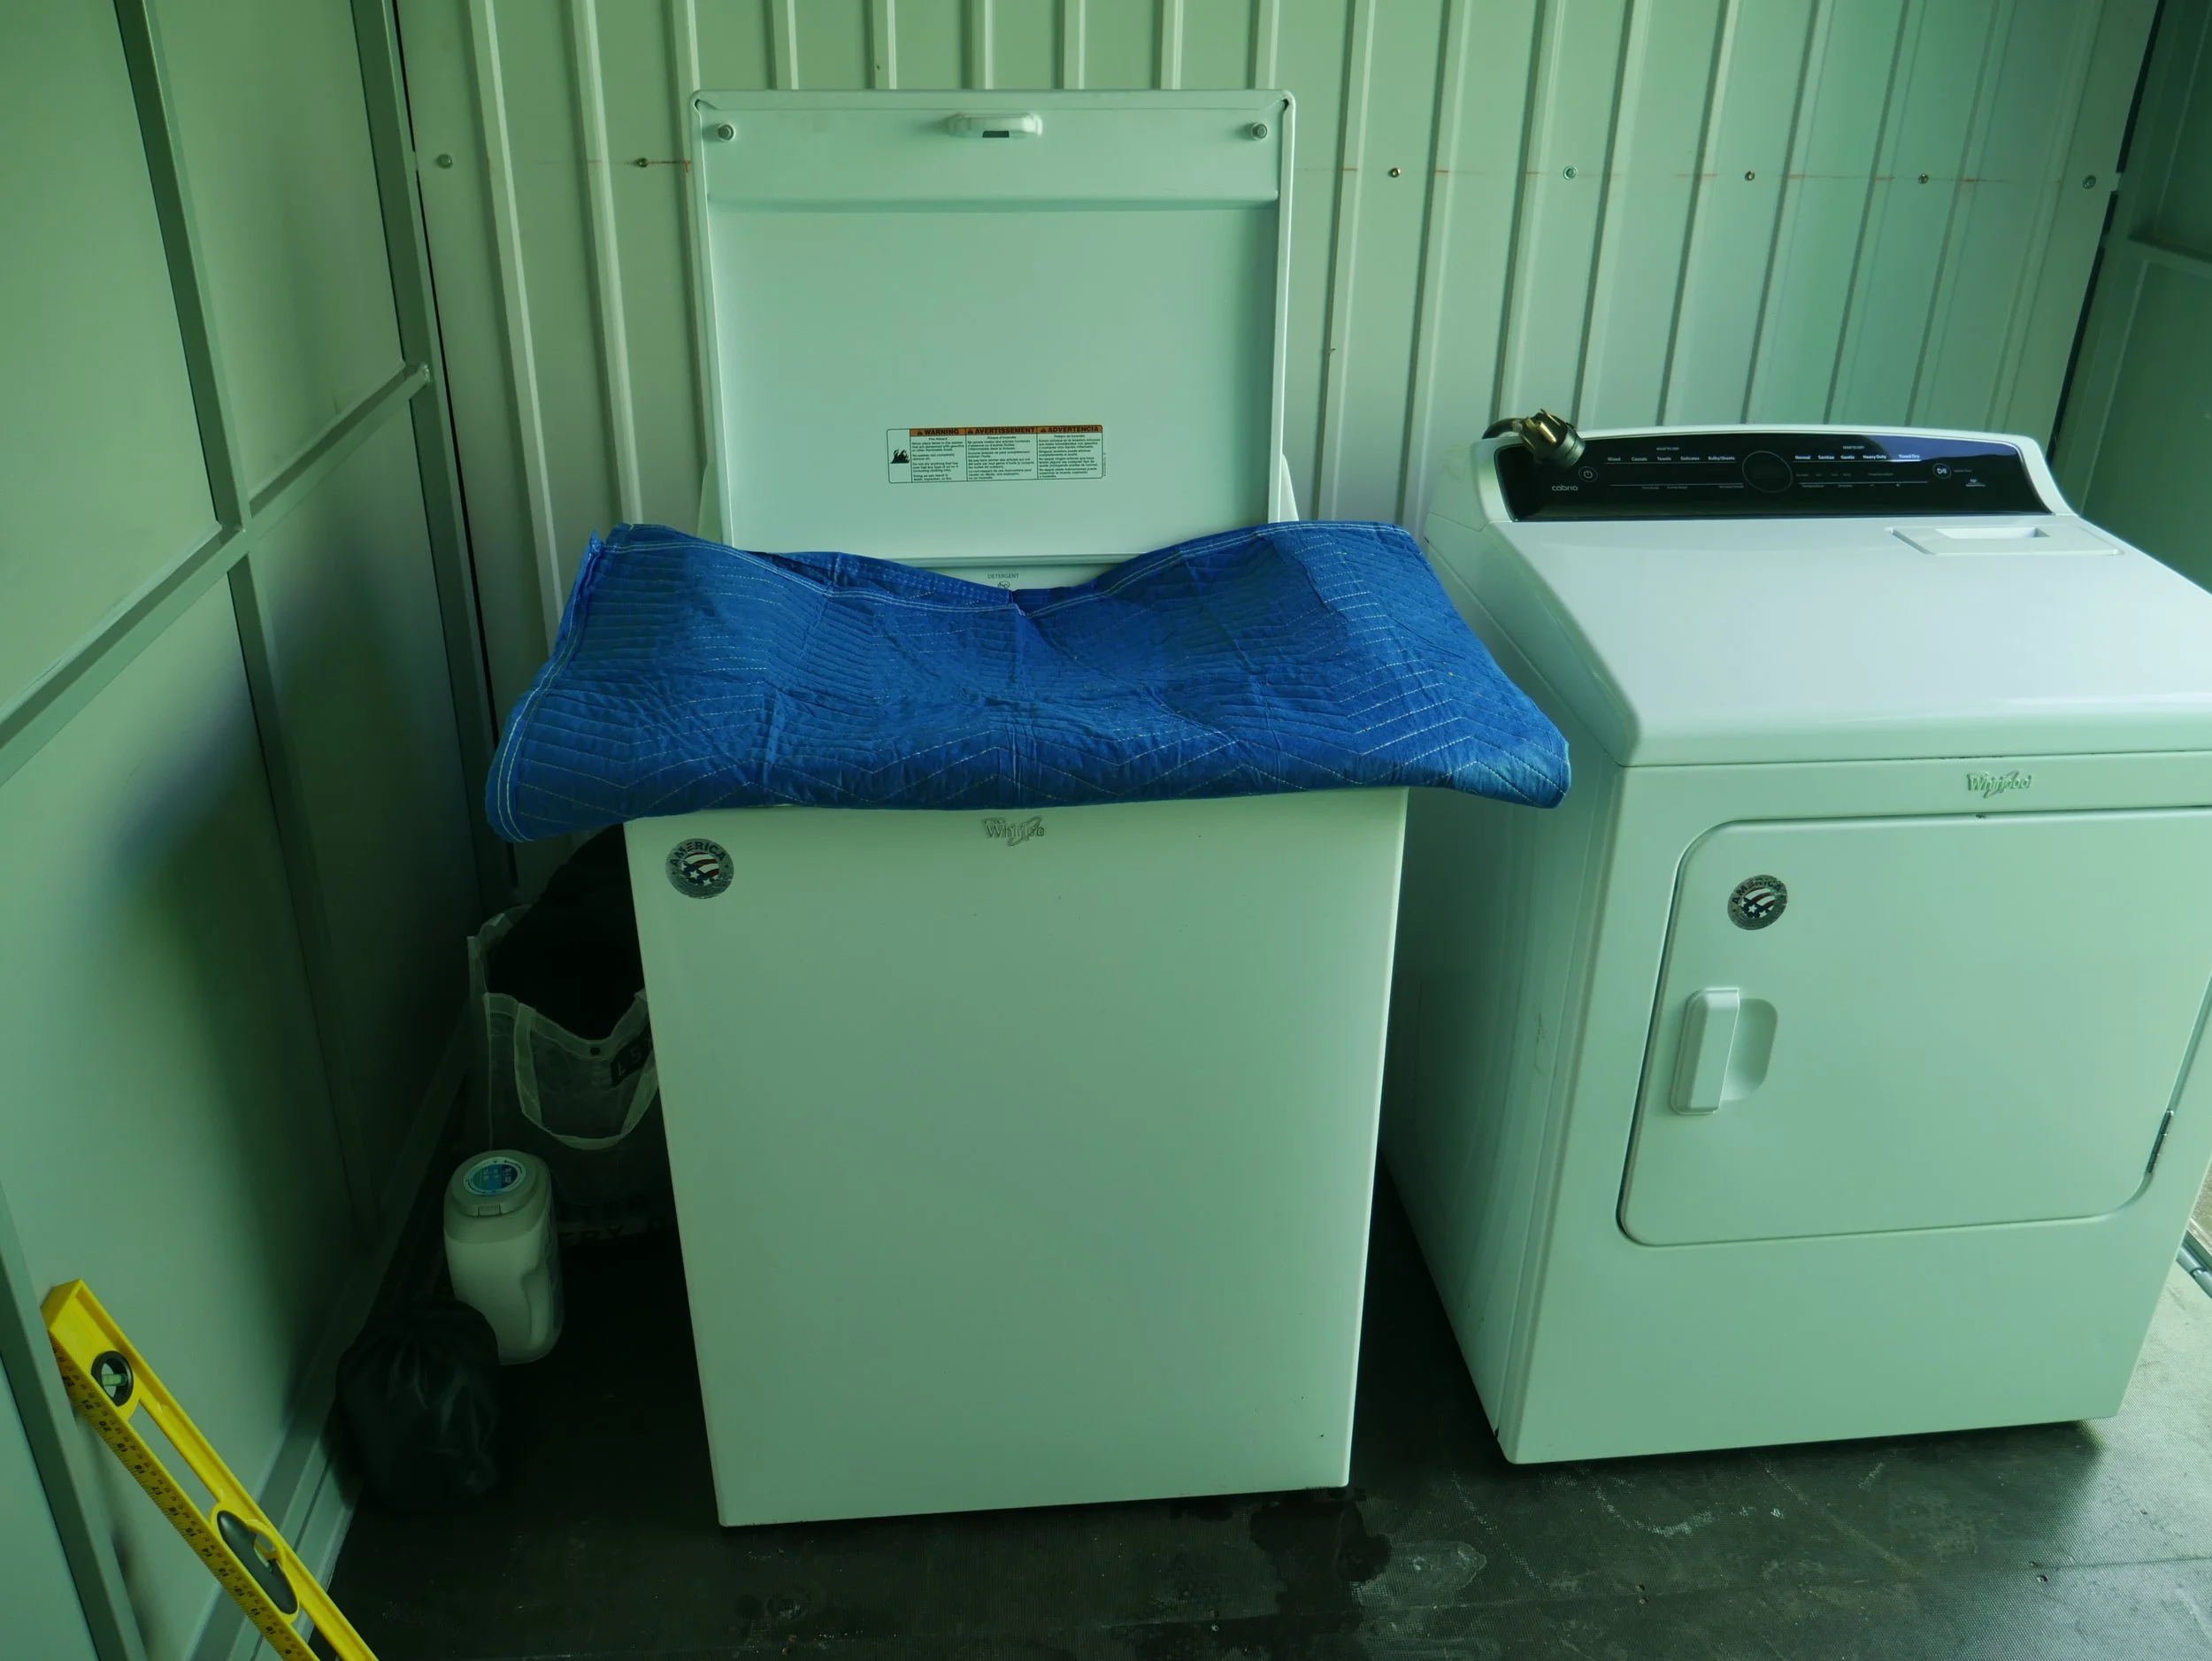
5) Leave the lid open
Leave the washer lid slightly open during storage to prevent moisture buildup, odors, and mildew, option to place moving blanket/towel over lid to prevent dust from entering the washer.
———————————————————————————————————————————————————————————————
Step-by-step: How to Winterize a Dryer for Storage
Dryers are simpler because they don’t hold water.
1) Unplug the dryer
Disconnect power before moving or storing.
2) Disconnect and dry the vent hose
Remove the vent duct from the back and make sure it’s dry before storing it.
3) If gas dryer: shut off gas
Turn off the gas supply and cap/secure the line if needed (or have a tech handle it).